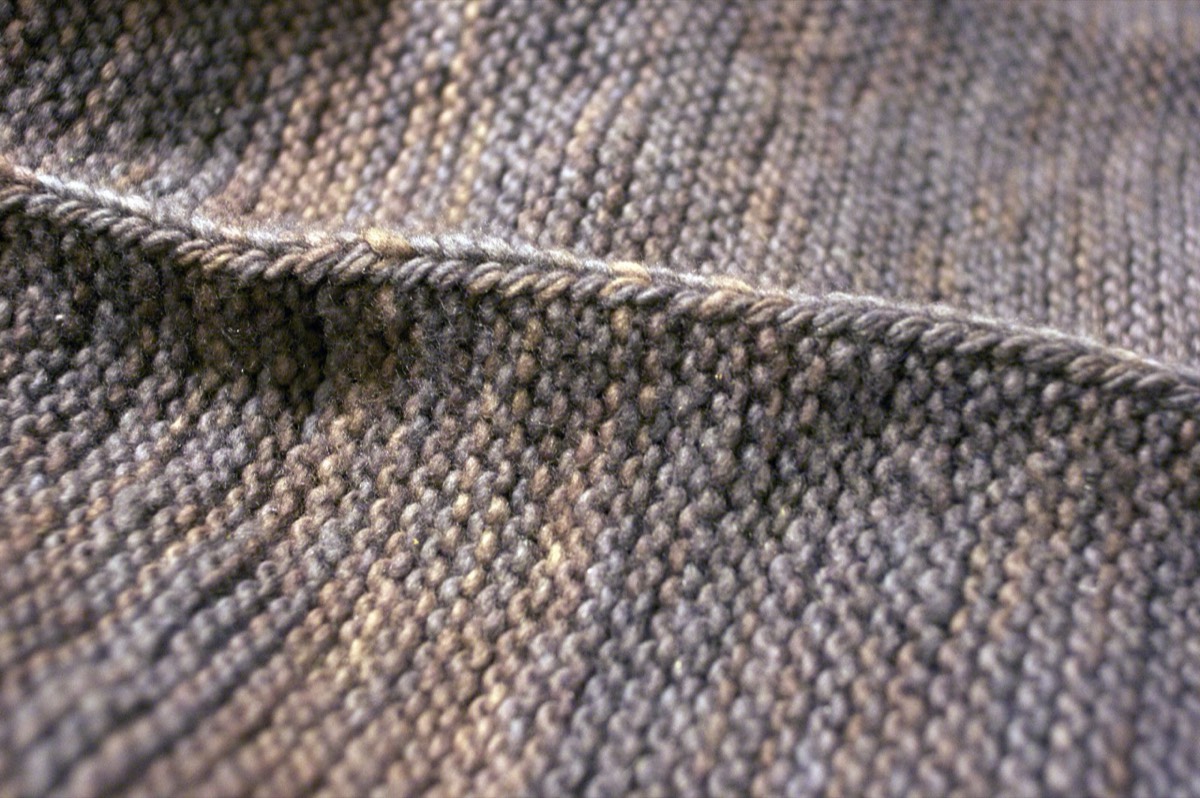

Kitchener stitch joins two sets of live stitches so the join looks like a continuous row of knitting. It is used for sock toes, shoulder seams, neckbands and anywhere a flat, invisible join is wanted.
The technique is a sequence of four moves repeated across the row. The difficulty is not the sequence; it is keeping the tension even and the stitches untwisted.
Set up
- Place the two sets of live stitches on two needles, one in front and one behind, with the right sides facing.
- Cut the working yarn, leaving a tail about three times the width of the seam.
- Thread the tail onto a tapestry needle.
- Hold the two knitting needles parallel, with the front needle closer to you.
The sequence
- Front needle: insert the tapestry needle purlwise into the first stitch and slip it off. Insert it knitwise into the next stitch and leave it on.
- Back needle: insert the tapestry needle knitwise into the first stitch and slip it off. Insert it purlwise into the next stitch and leave it on.
- Repeat these four moves across the row.
The rhythm is “purl off, knit on” at the front, then “knit off, purl on” at the back. Keep the working yarn under the needles, not over them.
Tension
Pull the yarn snug after each pair of moves, but not tight. A tight graft puckers; a loose graft leaves a visible gap. The graft should match the tension of the surrounding fabric. If the graft looks loose, adjust the next few stitches rather than pulling the whole row.
A worked example
Twenty live stitches on each needle. Work the four-move sequence across the row. At the end, the two sets of stitches become one continuous row, with no seam ridge.
Check the graft against the light: the new row should have the same V shape as the surrounding stockinette. If the stitches are twisted, the V will be reversed; undo the last few stitches and rework them.
Grafting ribbing
For 1×1 or 2×2 rib, the sequence changes with the stitch: knit stitches are grafted knitwise and purl stitches purlwise. Follow the pattern of the rib rather than the stockinette sequence. It is slower, but the rib continues through the graft.
Common problems
- Twisted stitches. The tapestry needle went through the stitch in the wrong direction; check each stitch before slipping it off.
- Puckering. The yarn is too tight; rework with a looser tension.
- A visible gap. The yarn is too loose or the first/last stitches were not secured; tighten the ends after finishing.
- Wrong row direction. The graft follows the row; if the two pieces are offset by a row, the join will show.
Securing the ends
After the graft, pull the working tail through the last stitch and weave it into the wrong side. Do not knot. Secure the beginning tail in the same way. A small tug on both ends closes the first and last stitches; too much tug puckers the row.
If the graft is a shoulder seam, add a short row of backstitch behind it for stability.
If the two edges have different stitch counts, the graft will not align. Decrease or increase on the last row of one piece before grafting, or choose a seamed finish instead. Check the graft against the light before weaving in the ends.
Limits
Kitchener works on live stitches. It is not a substitute for seaming bound-off edges; for those, use mattress stitch. If the two edges have different stitch counts, the graft will not align; adjust the counts before starting.
Graft on the needles you used, keep the tension even, and block the seam with the wool blocking method.