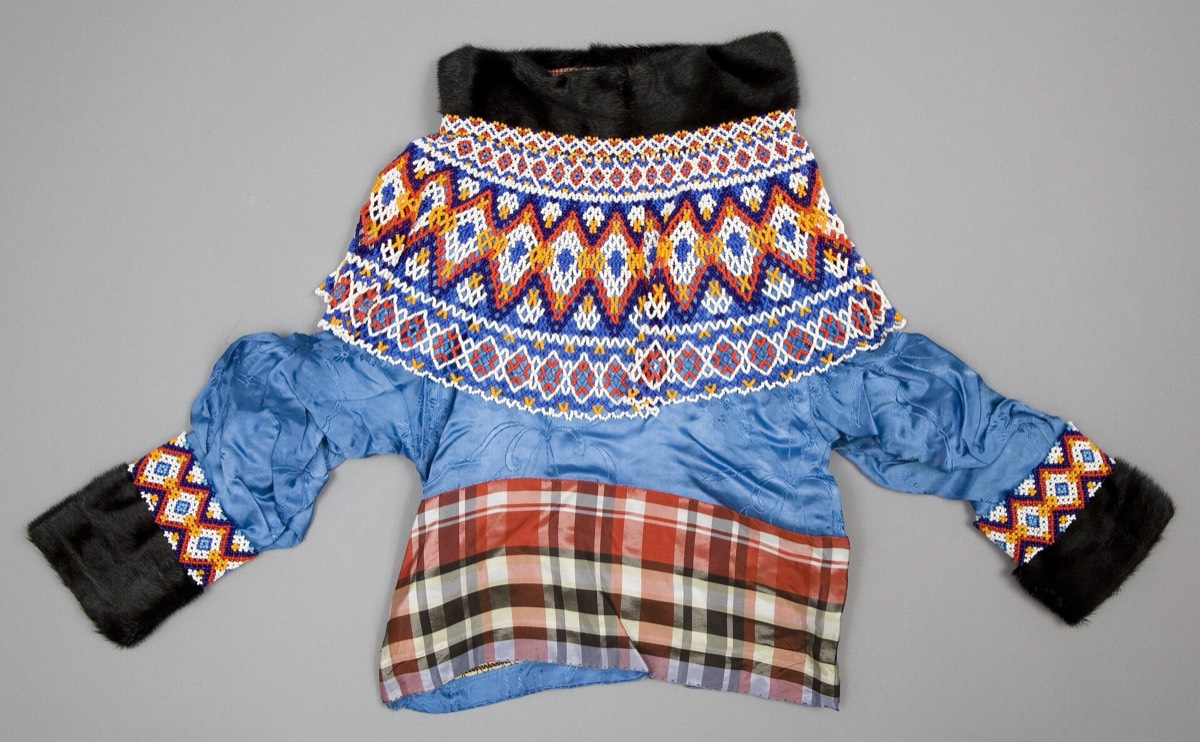
Seaming is the step that turns flat pieces into a garment. It also exposes every gauge and length decision: if the pieces do not match, the seam will show it. Good seaming is mostly preparation, then a simple stitch worked evenly.
Mattress stitch is the default for side and sleeve seams. It joins row to row with a flat, nearly invisible seam on the right side.
Before you sew
- Block the pieces to the schematic measurements. Seaming unblocked pieces can stretch them out of shape.
- Match the rows at the seam. Pin the ends and the midpoint, then distribute the fabric evenly.
- Check the right sides. Mattress stitch is worked with the right sides facing you, so the seam sits on the wrong side.
- Use a blunt tapestry needle and the same yarn, or a smooth sewing thread for a bulky seam.
Mattress stitch
- Hold the two pieces side by side, right sides facing you, edges together.
- Bring the needle up through the bar between the edge stitch and the next stitch on the left piece.
- Cross to the right piece and pick up the corresponding bar.
- Work back and forth, picking up one bar on each side for each row.
- Pull the yarn snug every few stitches, not after every stitch.
The seam closes like a zipper. If it looks like a ridge on the right side, the needle went through the fabric instead of the bar between stitches.
A worked example
A side seam is 50 cm long. At 3 rows per cm, that is 150 rows. Pick up one bar per row on each side, working from hem to underarm. If one piece has 150 rows and the other has 148, ease the difference across the seam rather than forcing it at one end.
For a sleeve seam, work from cuff to underarm. Match the increase rows if the sleeve is shaped; the seam should follow the same line on both sides.
Shoulder seams
Shoulder seams carry the weight of the garment, so they need to be stable. Use a firm mattress stitch, a backstitch, or graft the live stitches with Kitchener. If the shoulders are sloped, seam along the slope rather than straight across.
Set-in sleeves
Pin the sleeve cap into the armhole with the right sides together, matching the underarm, the shoulder seam and the centre of the cap. Ease the cap into the armhole; it should fit without puckering. Sew with mattress stitch or backstitch, then check the seam from the right side before weaving in the ends.
Finishing
Weave in the ends on the wrong side, following the seam line. Do not knot; knots work loose and create bumps. Block the finished garment lightly to settle the seams, and check the fit before wearing.
Which seam where
Use mattress stitch for side and sleeve seams, a firm backstitch or graft for shoulders, and a light mattress stitch for setting in sleeves. Avoid overhand stitching, which leaves a ridge and reduces stretch. The seam should move with the fabric, not fight it.
For a bulky yarn, use a thinner sewing thread for the seam and keep the knitted edge as the visible finish.
Press the seams lightly on the wrong side with a pressing cloth, following the fibre's care label. Do not press the right side; it can flatten the texture and leave a shine.
Limits
Seaming cannot fix pieces that are different sizes. If one piece is significantly longer, the problem is in the knitting or the blocking, not the seam. Fix the measurement before seaming, or the garment will hang unevenly.
Work the seam, then compare the stitch path with the Kitchener guide.